Battlefield Briefing: Exploring Battlefield Hazard Zone Let?s take a deep dive into Hazard Zone, the all-new Battlefield 2042 mode.
Greetings No-Pats! During the last few months we?ve shown you how Battlefield? 2042 is enhancing the series? All-Out-Warfare suite of classic modes and how we?re giving you the tools to build the Battlefield experience of your dreams with Battlefield Portal.
Today, we?re excited to dive into Battlefield Hazard Zone, a mode unlike anything we?ve done before, where you and your squad must scavenge for valuable resources as foes and cataclysmic storms close in. So strap in and get ready to deploy. Things are about to get intense.

Hazard Zone Within The World of 2042
In the year 2040, a worldwide event known as The Blackout has caused over 70% of satellites in orbit to malfunction and fall into the atmosphere. Communication, navigation, and surveillance were crippled, bringing an already tenuous relationship between the US and Russia to the edge of war.
In response, both countries have begun to use satellites equipped with capsules containing radiation-hardened Data Drives to collect important intelligence throughout the world. These capsules are dropped down into US/RUS controlled territories for the Occupying Forces to secure.
Such Data Drives are essential to No-Pats around the globe, providing them with valuable information to keep all No-Pats (including non-combatants) safe. And when necessary, the information can be sold to the Dark Market in return for supplies needed for survival.
This is where you come in.
In Battlefield Hazard Zone, you play as an Elite Task Force assigned to retrieve these critical Data Drives. You and your squad must locate, gather, and extract these drives before a storm overtakes the area in a high-stakes, one-life experience.
Every bullet, every skirmish, and every decision counts.
Navigating the Hazard Zone
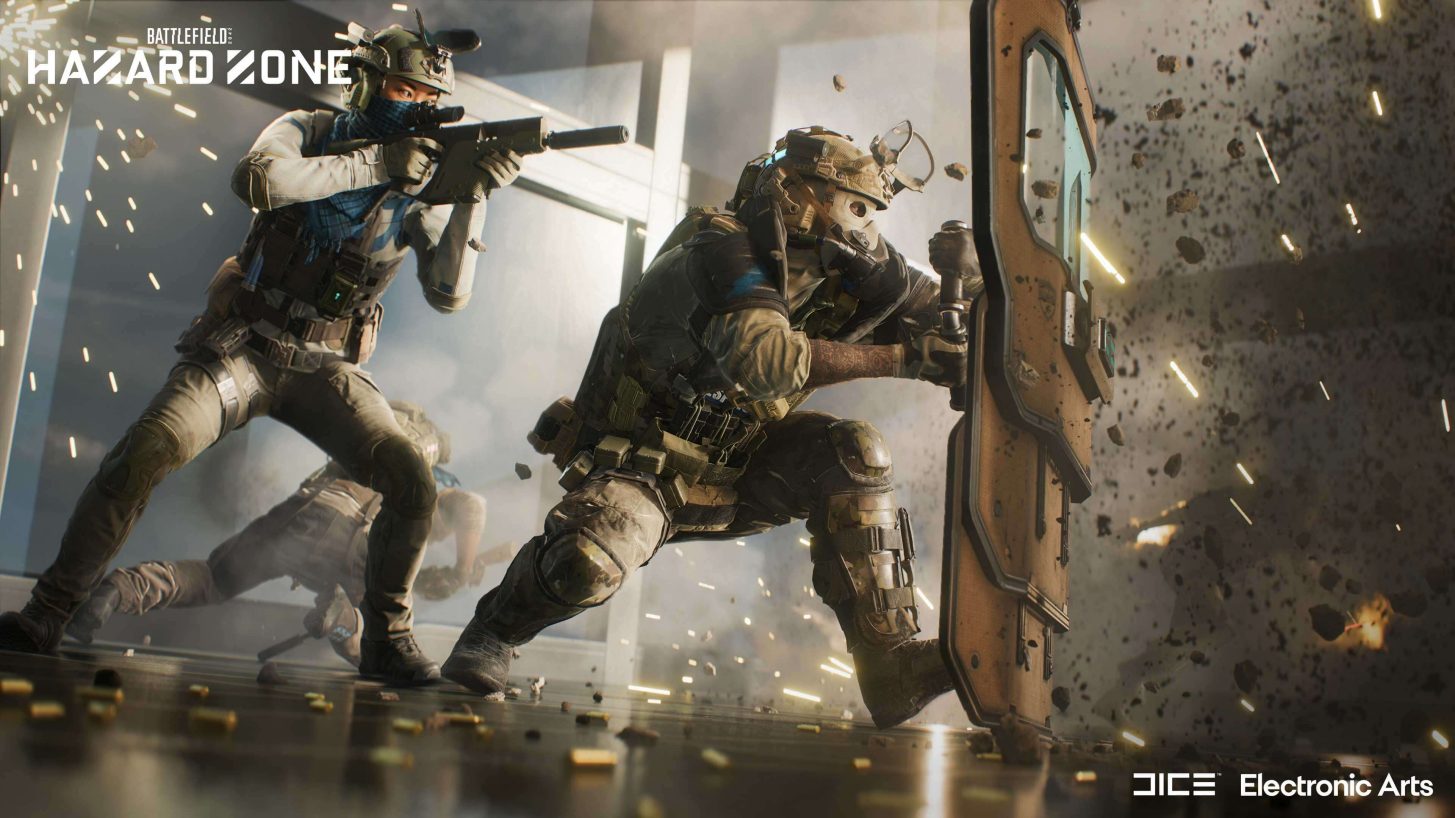
In Hazard Zone, you need to get in, get the goods, and get out in one piece. Simple on paper. In execution, far more complicated and dangerous as you?ll contend with other players, Occupying Forces, and deadly storms.
To leave the Hazard Zone alive and reap the benefits of the Data Drives you?ve collected, teamwork will be crucial.?

Strategize & Equip
You?ll start each game of Hazard Zone at the Mission Area Briefing screen where you?ll see an overview of the mission area. Here you?ll find out which regions of the map have a higher probability for you to encounter Data Drives, enemies and Uplinks, which are your communication extension to HQ in requesting Call-ins. Venturing into areas where there?s low probability of foes is likely safer but you?ll find less Data Drives. For the big rewards, you?ll have to head into the heart of danger and come out the other side alive.
Using that briefing information you and your squad will then select your Specialists and Loadout. Every squad is composed of four unique Specialists, so you and your teammates will need to pick Specialists and Loadouts that complement one another if you?re to extract safely.? Using Dark Market Credits (DMC) earned in Battlefield Hazard Zone, you?ll be able to purchase your favorite weapons and equipment that can get you out of a tight spot.
If your pockets are full of DMC, you?ll be able to purchase and equip SMG?s, Assault Rifles, Sniper Rifles, and more. You can also buy throwables and equipment that will grant you a tactical advantage, like Medical and Ammo Crates, or Smoke Grenades capable of granting you a cover you can use to escape intense firefights. And let?s not forget the explosive recoilless M5, capable of punching a hole in enemy vehicles. But if you?re hard up for DMC, don?t worry, every Specialist will have access to a free attachment-less Assault Rifle as a starter weapon.
Alongside your equipment, you can also buy Tactical Upgrades that can drastically improve your chances of survival.
There are 15 Tactical Upgrades available at launch, and here?s a quick glimpse at some of them:
- Extra Throwable - Carry +1 of your selected throwable Gadget.
- Insider Information - Show the landing position of crashing capsules 30 seconds before they arrive.
- Loadout Insurance - Reimburse 25% of upgrades and Loadout cost if you die.
- Negotiated Bounty - +50% Dark Market Credits bounty when killing Opposing Forces
- Quickdraw Holster - Swap between weapons 15% faster
As for the others, you?ll have to discover them for yourself when you play Hazard Zone.
Insert
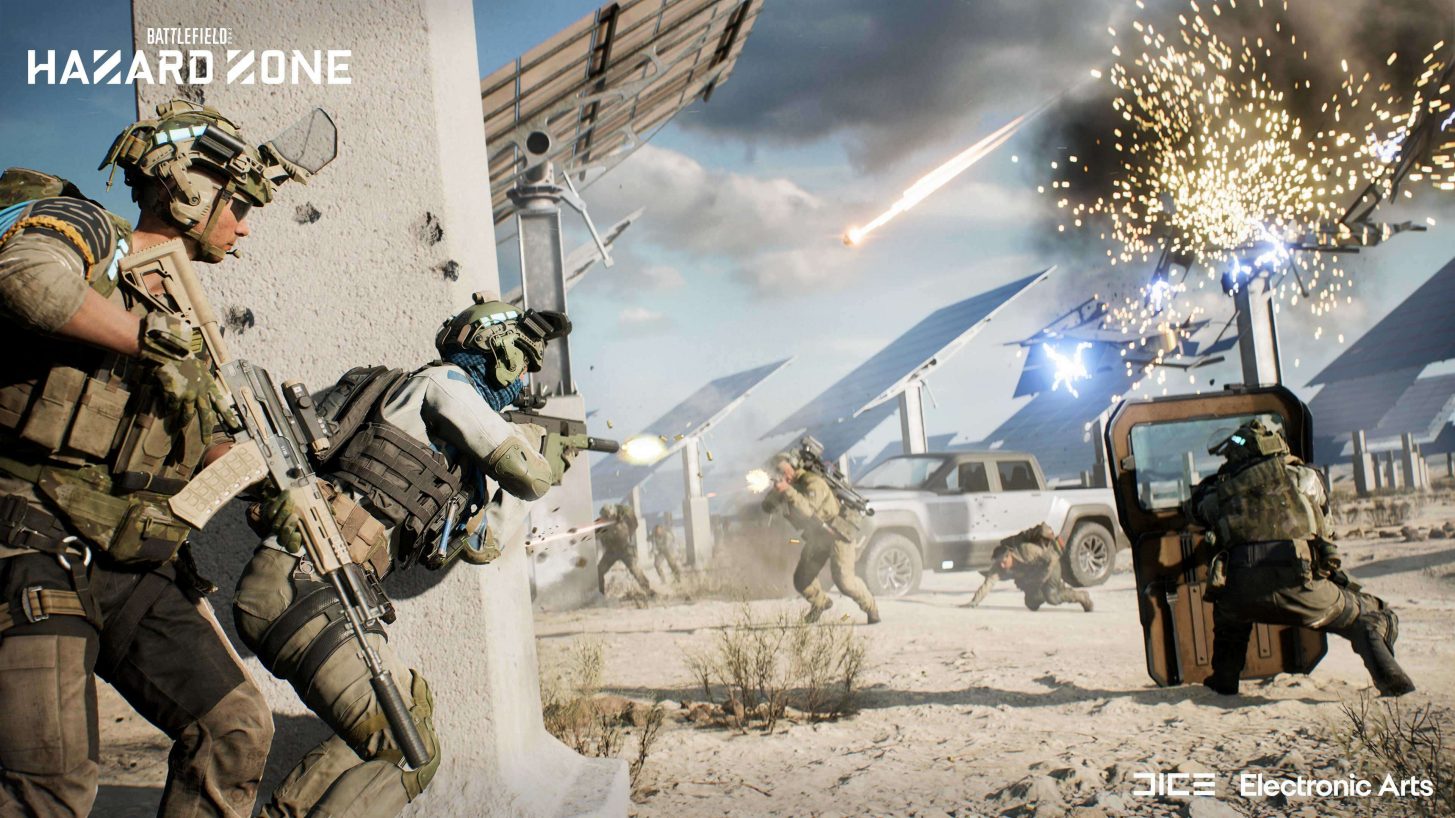
After you deploy on the Landing Zone, you?ll use a scanner unique to Hazard Zone to search for the downed capsules containing the Data Drives. You?ll need to be cautious as multiple deadly obstacles can spring up in your way at any time. In addition to other No-Pat soldiers searching for Data Drives, AI-controlled Occupying Forces will be roaming the map and guarding the Data Drives, so be ready for a fight. But be careful: if you go down, your teammates can only bring you back under special circumstances.
Retrieve
As you make your way toward the Data Drives from satellite capsules that have fallen already, even more capsules will plunge to the earth as the match goes on. These capsules will contain more Data Drives than the ones that came before, so you and your squad will have to make the call on whether it?s worth the greater risk to pursue richer rewards.
At this point the hazards around you also increase as the storm that will overtake the area by the match?s end is growing further and becoming more dangerous by the minute.
Luckily, you?ll find several assets on the ground that can help you when enemies are closing in and picking off your squad one by one. Ammo stations are littered across the map and marked on your HUD, so you?ll always know where to go if you?re running low. Uplinks, randomly spawned collectible laptops, can also give you powerful abilities to help you turn the tide or even bring back the fallen squad members. Each Uplink is encoded with a particular Call-in - so keep an eye out for 3 different types available:
- Support Uplink: Give your squad a Ranger Call-in
- Vehicle Uplink: Give your squad a LATV4 Recon Call-in
- Redeploy Uplink: Give your squad a squad redeploy Call-in.
Extract
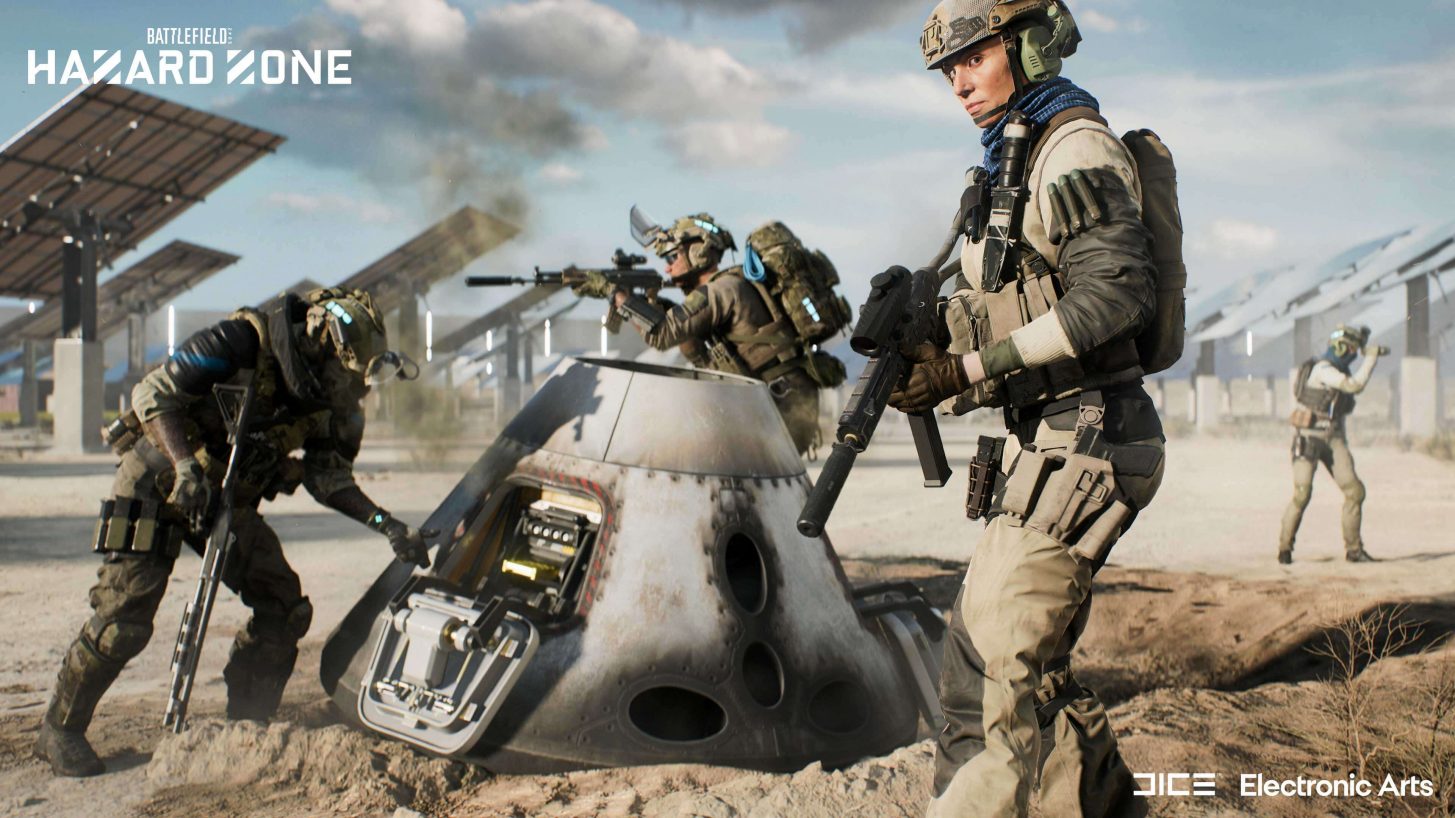
The first extraction window opens up shortly after insertion at a random Extraction Zone. Once the location has been determined, you?ll have to hurry, as you will only have a short time to safely get onboard. Squads that are basing their Specialist composition on speed may have the edge when it comes to the first extraction, grabbing Data Drives and making a quick exit.
Once you arrive at the EZ (marked with green smoke) your squad will need to defend itself from the Occupying Forces and opposing Task Forces. But remember: you must get on the helicopter to extract. If one of your squadmates fails to board in time, they will miss the window and have to extract during the final extraction window.
Once the first extraction is complete, the storm begins to take full effect, making the map more dangerous. To make matters worse, you?ll only have one last attempt to extract.
During the final retrieval phase, most of the initial Data Drives have been retrieved by other teams of No-Pats, and you?ll be able to track these with your Data Drive Scanners.
But be aware, your foes are tracking you as well.
It?s your call. Do you hunt down the remaining squads for more Data Drives or focus on escaping?
As the storm approaches its peak, the final extraction window opens. This last extraction zone will force the remaining teams to battle over the last chance to leave. Any team that is left behind effectively loses the round and all Data Drives they have gathered to this point - lost to the storm.
Progression
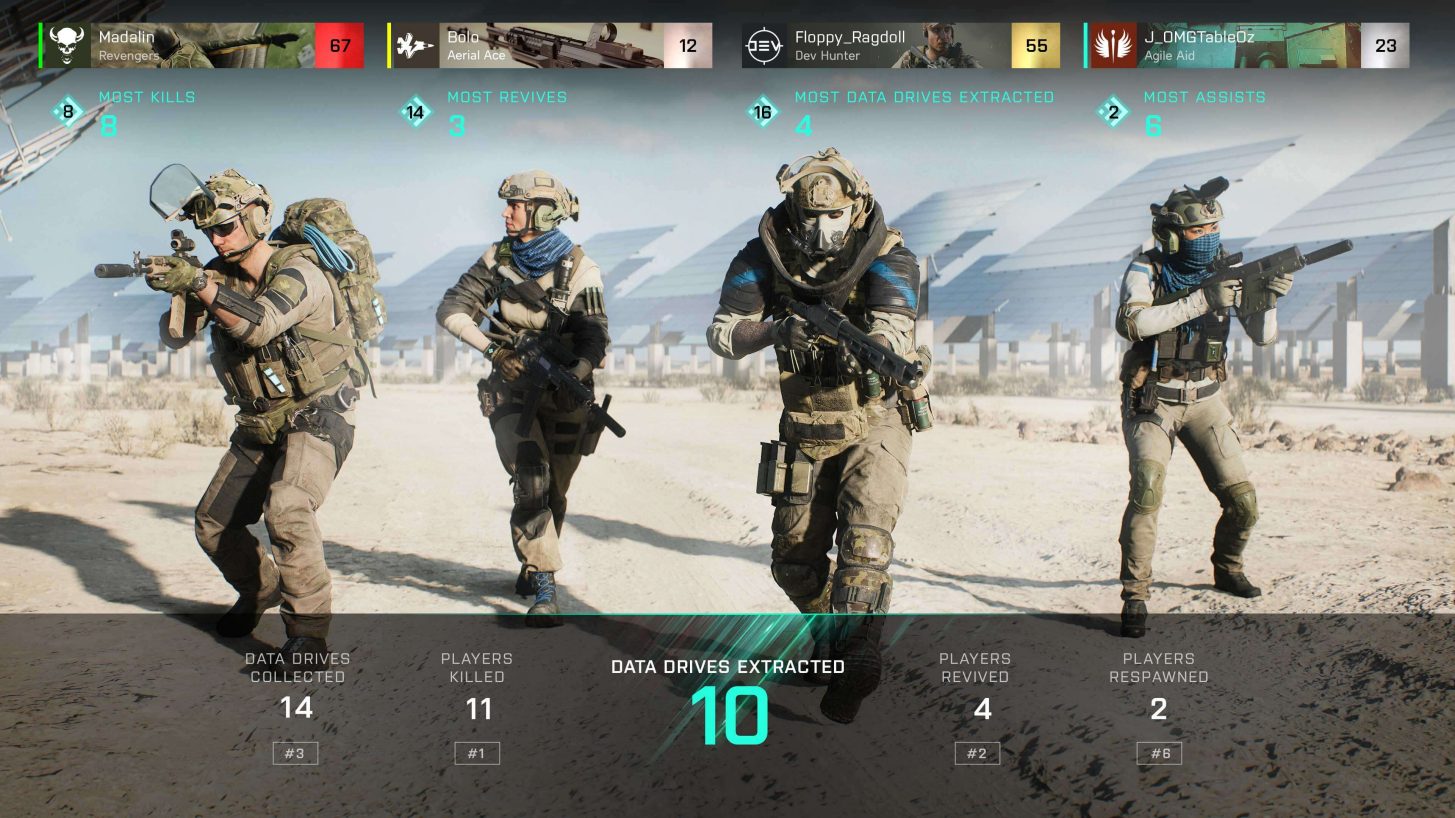
Squads that successfully capture Data Drives and extract will be rewarded with DMC as well as a bonus dealt out to members based on their actions taken during the match, such as kills. The more Data Drives you extract, the higher the reward for your squad will be.
The more Data Drives you gather in a match of Hazard Zone, the more XP you gain for your overall level and Battlepass and the more DMC you collect to spend on equipment and upgrades during a future match.
If you?re on a hot streak and your Specialist extracts consecutively enough, you?ll earn an Extraction Streak marker tied to the chosen Specialist that will reduce the cost of weapons, equipment, and tactical items for that Specialist while you continue playing with them. However, if you fail to extract, that marker and all its benefits disappear until you earn another streak, so don?t get cocky, No-Pat. It?s a long fall.?
Dev Corner
We?re excited we?ve finally unveiled Hazard Zone to you, and we understand you?ll have some additional questions. Good news: Producer Amo Mostofi and Design Director Daniel Berlin have got you covered. Let?s dive straight in!
How long does a match of Hazard Zone take to play?
Get in, get the goods, get out. Easier said than done.
A Hazard Zone match can take anywhere from around 5 to 20 minutes based on how you play, when you choose to extract, and if you?re successful.
What?s the difference between last-gen and next-gen versions of Hazard Zone?
Xbox Series X|S, PlayStation? 5 and PC users will be able to play with up to 32 players in a massive playspace, while Xbox One and PlayStation? 4 players will be able to play a version scaled for up to 24 players.
How many maps does Hazard Zone have?
You?ll be able to experience Hazard Zone on all 7 of Battlefield 2042?s maps.
Can I play Hazard Zone to progress my character within Battlefield 2042?
Yes! Your Hazard Zone progression is tied into the rest of Battlefield 2042. Any progress you make in Hazard Zone will also grant you XP for your overall player level, weapon unlocks, and so on.
Can there be multiple of the same Specialists in the same squad?
Squads in Hazard Zone are composed of four unique Specialists, so you and your teammates will need to pick Specialists and Loadouts that complement one another if you?re to extract safely.
How is XP shared between you and your Squad?
Everyone present in your squad at end the of round will receive XP for the total amount of Data Drives your squad has extracted. There will also be a bonus for your personal performance during the match.
Are Occupying Forces always present in Hazard Zone?
Occupying Forces are an ever present and essential part of the Hazard Zone experience, and will pose a dangerous challenge in safely extracting with your recovered Data Drives.
How many Occupying Forces can we encounter in a match?
The Occupying Forces you?ll find in Hazard Zone are unpredictable. They may be roaming around the map, pursuing you, or protecting valuable resources. How many soldiers you come across varies and will depend on your actions and luck, so explore with caution.
What happens when I die?
You?ll be able to spectate your squad from the sidelines, hoping they can bring you back by finding a Redeploy Uplink in case no Squad Redeploy Call-in was bought before insertion.
Is it possible to redeploy multiple times in a Hazard Zone match?
If your entire squad bites the dust, the mission?s a failure and you lose the match. But should one member still be alive and manage to trigger a Redeploy Call-in (found in the world or purchased with DMC before a match starts), they can bring the entire team back to life.
Does Hazard Zone have any pay-to-win elements?
In Hazard Zone you will use Dark Market Credits which can only be obtained through gameplay, and not via real world currency. You can use them to purchase Tactical Upgrades, weapons and gadgets to give you the advantage over your enemies.?
And that?s a wrap on your first extended look at Battlefield Hazard Zone! We look forward to hearing about your close calls, pulse-pounding moments, and harrowing victories.Battlefield 2042 is nearly here, and we can?t wait for you to experience it for yourself when the game launches on November 19, 2021.
See you on the Battlefield, No-Pats.


Add comment